Tuesday, April 26, 2011

all in one wallet with lots of compartments


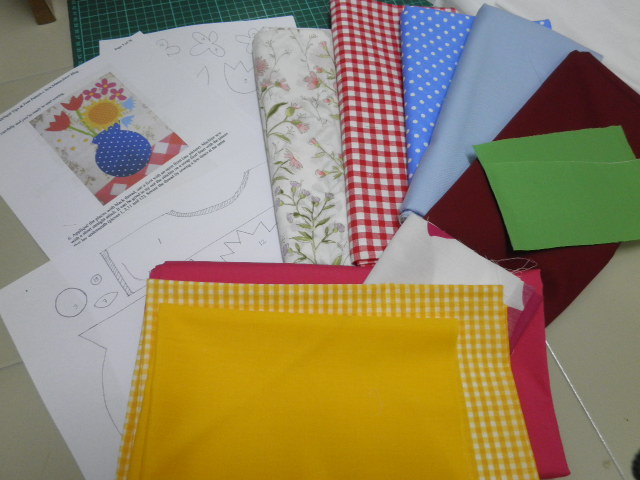
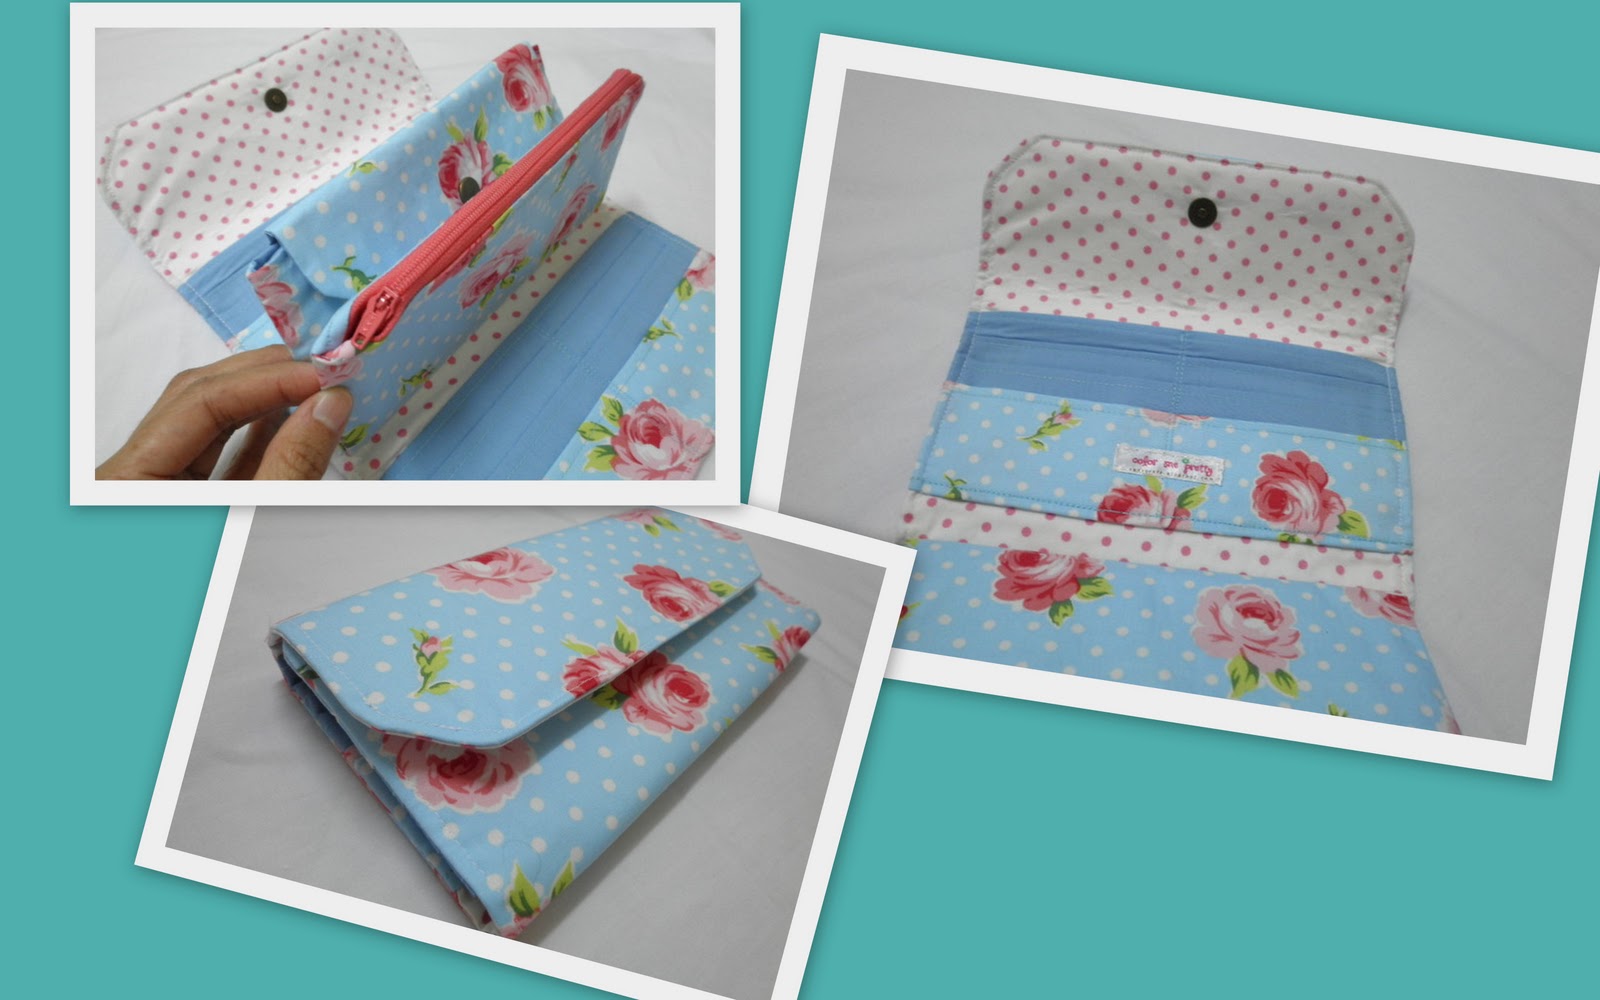
well here's more of the all in one wallet pictures. all custom made orders. the descriptions of the wallet is as follows :
12 card slots, 2 large bill compartments, 1 flap closure with snap button and 1 zippered coin slot.


this one here is a little bit different with solid blue for the exterior and printed fabric for the interior.


both are so 'english theme'. i like it. so sweet :)


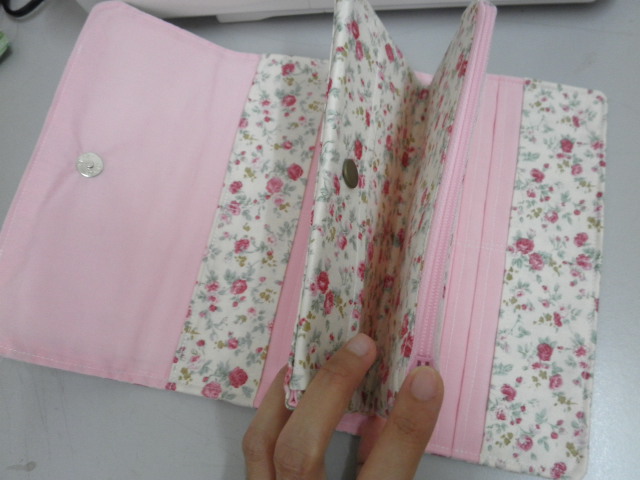
the measurements are 8.5" x 4.5" when closed.
price RM40 + RM6 poslaju

Thursday, April 21, 2011

all in one wallet with lots of compartments


More of the all in one wallet. Comes with 12 card slots, 2 large slots, 1 zippered coin pouch and 1 snap closure pouch. Just a note, I have turned the upper card slots the other way around due to keep the cards from falling off when the wallet is opened. If you still want it like the first batch I have made, do let me know :) 


bella bag with matching wallet


My kids are drooling for this bag set. So cute !

Friday, April 15, 2011

sew along - applique project update

fabrics for the applique

I've been very busy for these past few weeks but I still try to keep my hands on something that I would consider as a 'quick break'. Becoming part of the 'sew along - applique project' hosted by sue from my botang has got me jumped with joy! I can't wait to start doing it since this would be the first time I'm doing applique + pattern + tutorial. It's sure gonna be fun :)


As following the time-line, this week will be the printing pattern, instructions and choosing fabrics for the project. I do have some scraps that I think would make a good looking finish project but I was so tempted to get the 'red and white gingham' fabric from the shop for the table cloth. Oh! So typical !


patterns and instructions

So how are you guys coming along with the project? Had all your fabrics selected yet?

fabrics for background, table cloth, vase, flowers and stem
*apart from that, I'm still finishing up all current orders as soon as possible :)

Thursday, March 24, 2011

all in one wallet with lots of compartments


here's more of the all in one wallet i made recently.


12 card slots , 2 large bill compartments, 1 zippered pocket and 1 flap closure pocket.


all in one wallet for kak ros nykolett 


enjoy the pretty pictures ! thanks for viewing :)

Monday, March 21, 2011

new - bella large pleated bag


introducing a new design in my bag-making collection , bella large pleated bag.


comes with zipper closure for better stuff security. very roomy interior with 1 pocket with flap closure + 2 pockets on the other side. the measurements are 11" zipper opening at the top, 13" from top to bottom in the center, 16" bottom wide from left to right. straps come with 11" drop.

bella pink patchwork
 
bella twilight

bella twilight - interior view
these two bags are up for sale. interested please do contact me as soon as possible. first come first serve :)

Wednesday, March 16, 2011

new - all in one wallet with lots of compartments


front view

i made this requested wallet organizer quite a while ago. some of my other wallets has fewer card compartments so this was created for the need for more rooms for cards!

12 card slots, 2 large bill compartment, 1 snap pocket and 1 zippered pocket

on top of that, there were also extra pockets for other stuff such as coins and such. these extra pockets were sewn attached to the main wallet interior.


there you have it to place all your cards in the 12 card slots compartments. there are also 2 large slip pockets for notes and bills.


when you just want to carry all in one go, the extra pockets can make way even for your gadgets :) 
the measurements are 4.5" x 8" (when closed) 


Wednesday, March 9, 2011

reversible bucket bag - sew along by mybotang

front view with button closure
  here's the reversible bucket bag that i made recently following the sew along group hosted by my botang :). i managed to get it done before the due date which is on march 14th as im heading for a holiday break starting the end of this week.

2 pockets (as i dont intend to use it inside out :))
there were mainly 2 new things that ive learned throughout this bag making process. first, ive never made anything with round or oval base :) so i find this a little peculiar especially trying to smooth out the uneven pleats around the corners ;p . second, making bias tape and putting it around the bag as a handle. i find it not difficult at all ! the only drawback is the pattern instruction does not stated you to put interfacing for the bias tape and i find that being a little filmsy for the handles. im so used to more structured ones :)

inside out of the bag
anyway its fun making it and i might sew it again (with more stiffer handles hehe).
til then. happy sewing :)

Friday, March 4, 2011

diaper bag


front view closes with magnetic snap
made this recently with bright and sunny yellow fabric. pattern taken from a mingled yarn titled hip mama diaper bag. very easy tutorial and as an intermediate sewist you would definitely be able to do it in a whip :)

plastic covered lining and pockets
this bag is different from the rest of the diaper bags ive made coz ive made this one with plastic lining. its nice to have a waterproof baby bag right, where the possibilities for spills are ready protected! i also added a key-fob as finding keys in a big bag would be really frustrating. maybe its a great idea to add it for my future bags.


the measurements are 13" (l) x 11.5" (h) x 5.5(w). there are 4 pockets on the interior, swivel key ring inside,  2 sides outer pockets  and 1 zippered pocket at the back.

Published with Blogger-droid v1.6.7

Friday, February 25, 2011

tutorial : buttercup bag with zipper closure


here's an easy way to sew zippers for the buttercup bag from made by rae pattern. this tutorial is for those of you who has sewn the buttercup bag before as its mainly only pictures and very few instructions (im so lazy to write a tutorial) so that it will be much easier to understand :)
 

first you will need to prepare the zipper. sew both ends with a small piece of rectangle fabric. cut 2 larger rectangle fabric and fold it into half and sew on top of the zipper.


next place that piece of sewn zipper gusset on top of the RIGHT side of the lining pieces and pin in place. sew the same process on the other side of the lining.


you will have something that looks like this :) i hope everything goes on well at this stage. hehe


fold the lining RIGHT sides together with the zipper gusset folded inside like in the picture above and pin in place. sew all around the lining.


now for the last bit, insert the lining piece into the outer fabric piece (that you have already sewn together and attach the strap) and fold in both lining and outer piece. topstitch it close all around the edge. this is a little bit tricky as the top of it will tend to be very thick (lining + interfacing+ outer fabric + interfacing + etc hehe). just go slow and everything will be done nicely :) . for this bag i slip stitch by hand :P