Sunday, May 16, 2010

tutorial : tri-fold wallet


this is the tutorial for a tri-fold wallet. it has one large compartment for money, 2 card slots and 2 more compartment to put in more cards or receipt, and one zipperd coin compartment. its cute as it is just a small wallet as you can slip it in your pocket whenever you gotta go for short errands.

you will need to cut :

A - 2 pieces of fabric 10.5" x 5.5" + 1 piece of interfacing
B - 2 pieces of fabric 10.5" x 4.5" + 2 pieces of interfacing
C - 2 pieces of fabric 7" x 4" + 1 piece of interfacing + 4" zipper
D - 1 piece of fabric 8.5" x 4 " + interfacing
1 piece of fabric 7.5" x 4" + interfacing
E - 1 piece of fabric 7" x 5" + interfacing

First you have to fold pieces D and E into half and sew it all around to make like a pocket. leave one end open and turn it inside out. top stitched the top to finish it.


next , to make the coin zippered pocket, draw a rectangle about the width size of your zipper on 1 piece C. (draw the rectangle for the zipper somewhere in the middle of the fabric). place the fabrics right sides together and pin in place. sew all around the rectangle. next cut the middle drawn line that you've made earlier and flip the whole fabric inside like in the picture below. then you fold the fabric into half (thats why you have to draw the line in the middle earlier).
fit in your zipper while adjusting it a little and stitch all around it at the top.


next you will have to attach the pieces D to fabric piece B right in the middle  for the card slots. place the longer one first and stitch on top at the sides while checking if the card fits. then place the second D piece below the first one and stitch again at the sides, leaving bottom open. next attach piece E on the right side of piece B and zippered coin compartment on the left.


take the other piece B and place it right sides together and stitched at the top. you'll get something like in the picture below when you open it. then fold the fabric under and baste the bottom part of the wallet to make it stay in place.


next place piece A(with interfacing) under and baste again the bottom part of the wallet. and finally place the last piece of fabric A (without interfacing) right sides together and stitch it all around the wallet leaving the top open a few inches ( big enough to flip it inside out). snip the corners and cut off excess fabric at the sides to make it less bulky. turn it out slowly and press.

  
now its ready for some show-off. comments and questions are welcome. happy sewing!

Wednesday, May 12, 2010

all from the dark hue


i made this small bag for a teacher at my daughter's school. she requested a dark fabric so ive picked out this dark hue and matches it with white polka dots. the measurements are 8" x 5" x 2".


and here's another totebag for a preschool teacher. comes with one inner zippered pocket and lovely pink felt flower. the measurements are 14" for top zippered , 10.5" bottom lenght, 4" from front to back and 10" high in the middle.

Monday, May 3, 2010

wallets

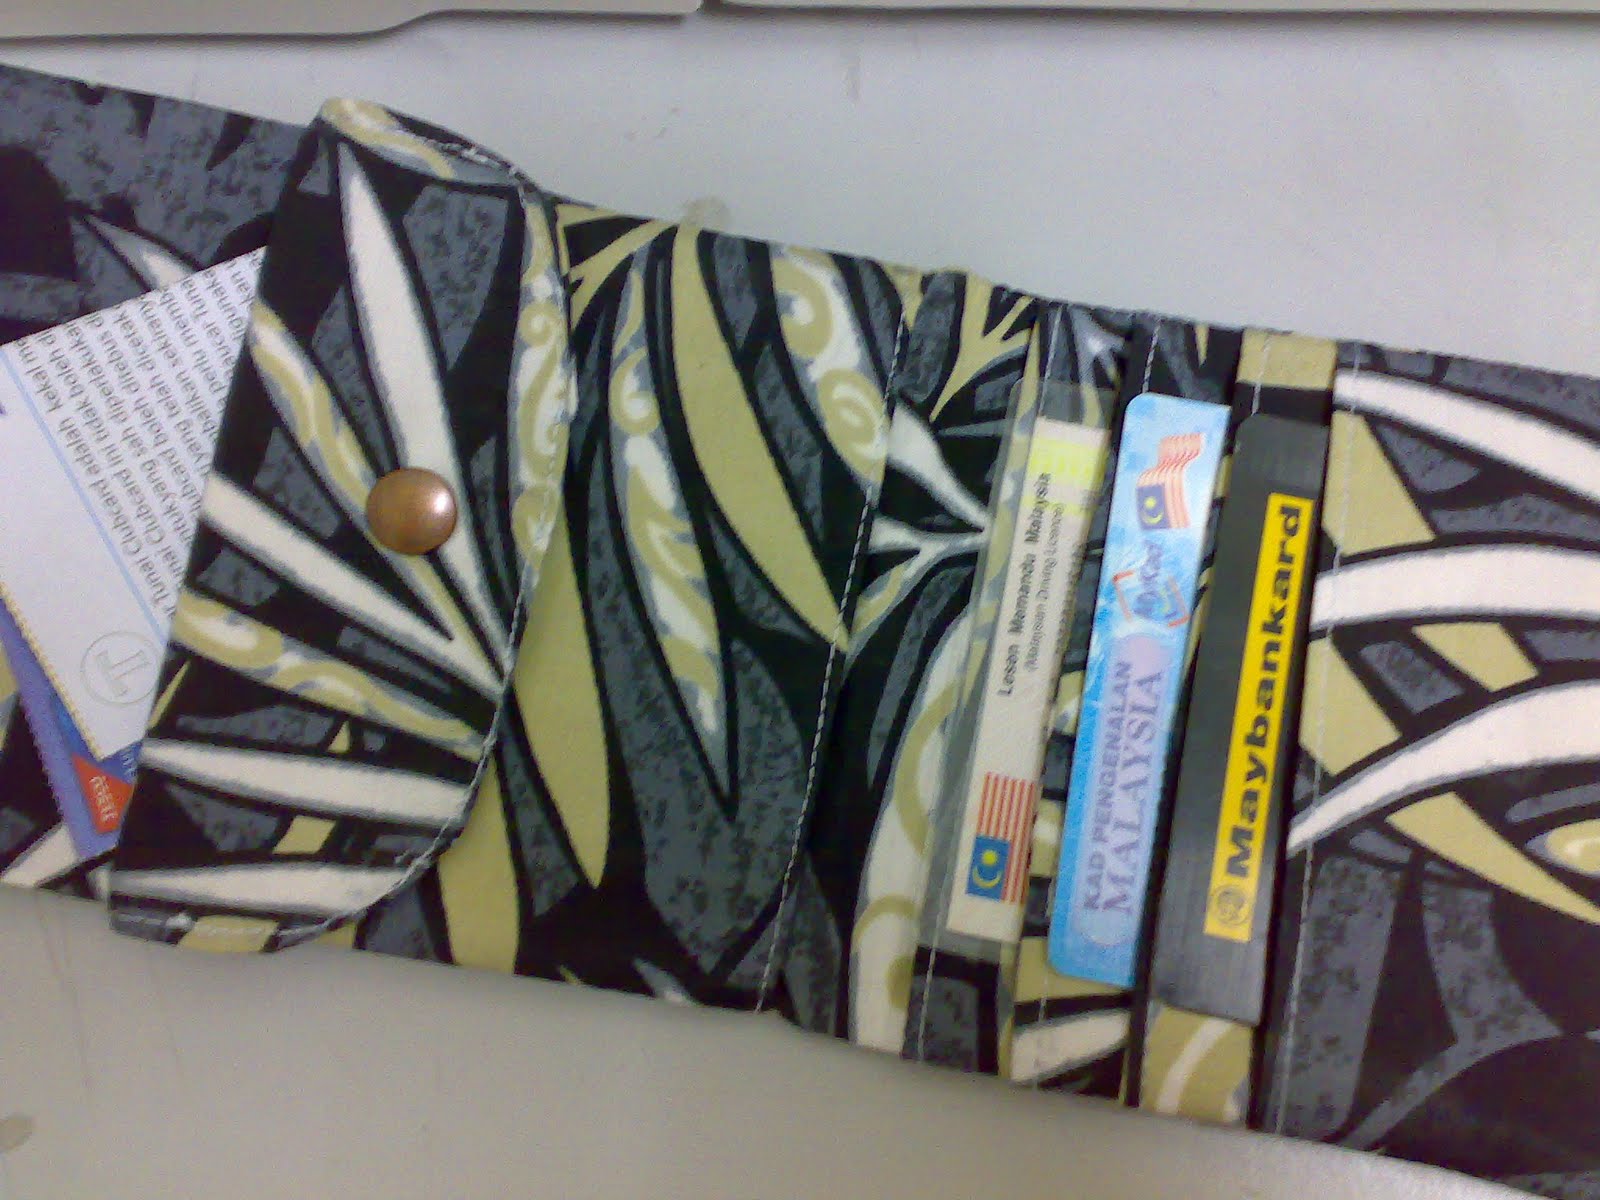
here are the matching wallets for the bags i made earlier. they were just so cute that made me want them all :) enjoy the pics !
Thursday, April 29, 2010

nursing cover


everybody has their first time for everything. this is the first time im sewing a nursing cover. i made this for iza and you can check out her website at hugzkisseseveryday.  the nursing cover comes with cute buttons and several holes on the strap for adjustments. as ive never sewn, buy or use any nursing cover before, this is definitely something new and i simply just love doing it. i also inserted a hard strip in to make the fabric kinda curve at the top. it will prevent the cover from covering the baby's face while he/she's nursing. i folded it up so that they will look neat and tuck to be put in the bag and ready to go!


thats the front and back view of the nursing cover. i was a bit confused about that small pocket at the back until i was informed that it was meant to put in small hanky or pacifier :)


i made a special pouch for it as well with cute cupcake applique. love it :)


and here are the cute buttons for adjustments. arent they just so cute? enjoy looking at the pictures and there's more on flickr. have a nice day!

Monday, April 19, 2010

little blue and little red


spending time making these were just as great as walking in the garden smelling spring flowers blooming. i just love the color of the fabric.


tiny little blue and little red flower. same fabric different color. both were just great working on with and lovely. enjoy looking at the pics!

Friday, April 16, 2010

wristlet/clutch - so nice you'll have to say it twice...


proudly present the reknown wristlet/clutch with detachable swivel keyring. come with one inner pocket and felt flower for a nice finishing touch! enjoy the pictures :)

" i heart shape wristlet"

" i heart tropical blue "

" i heart pink stripes"

"i heart mystical beaute"

*if you have problems clicking on these pictures, try view them on Flickr :)

bifold wallet


introducing my first ever bifold wallet. it has 3 card slots, 2 large compartments for money, receipts and such and 1 snap closure compartment for coins and money. its small enough to slip in the pocket when you need to make quick errands. cheers :) 

cloth book of felt numbers


let's make counting fun! its made of cloth and felt. i love it and im sure the kids gonna love it too! enjoy the pictures :)